
Before you start
Viewer or higher can view posts. Marking noise and saving to Collections or Shortlists requires Editor or Admin permission.Find posts
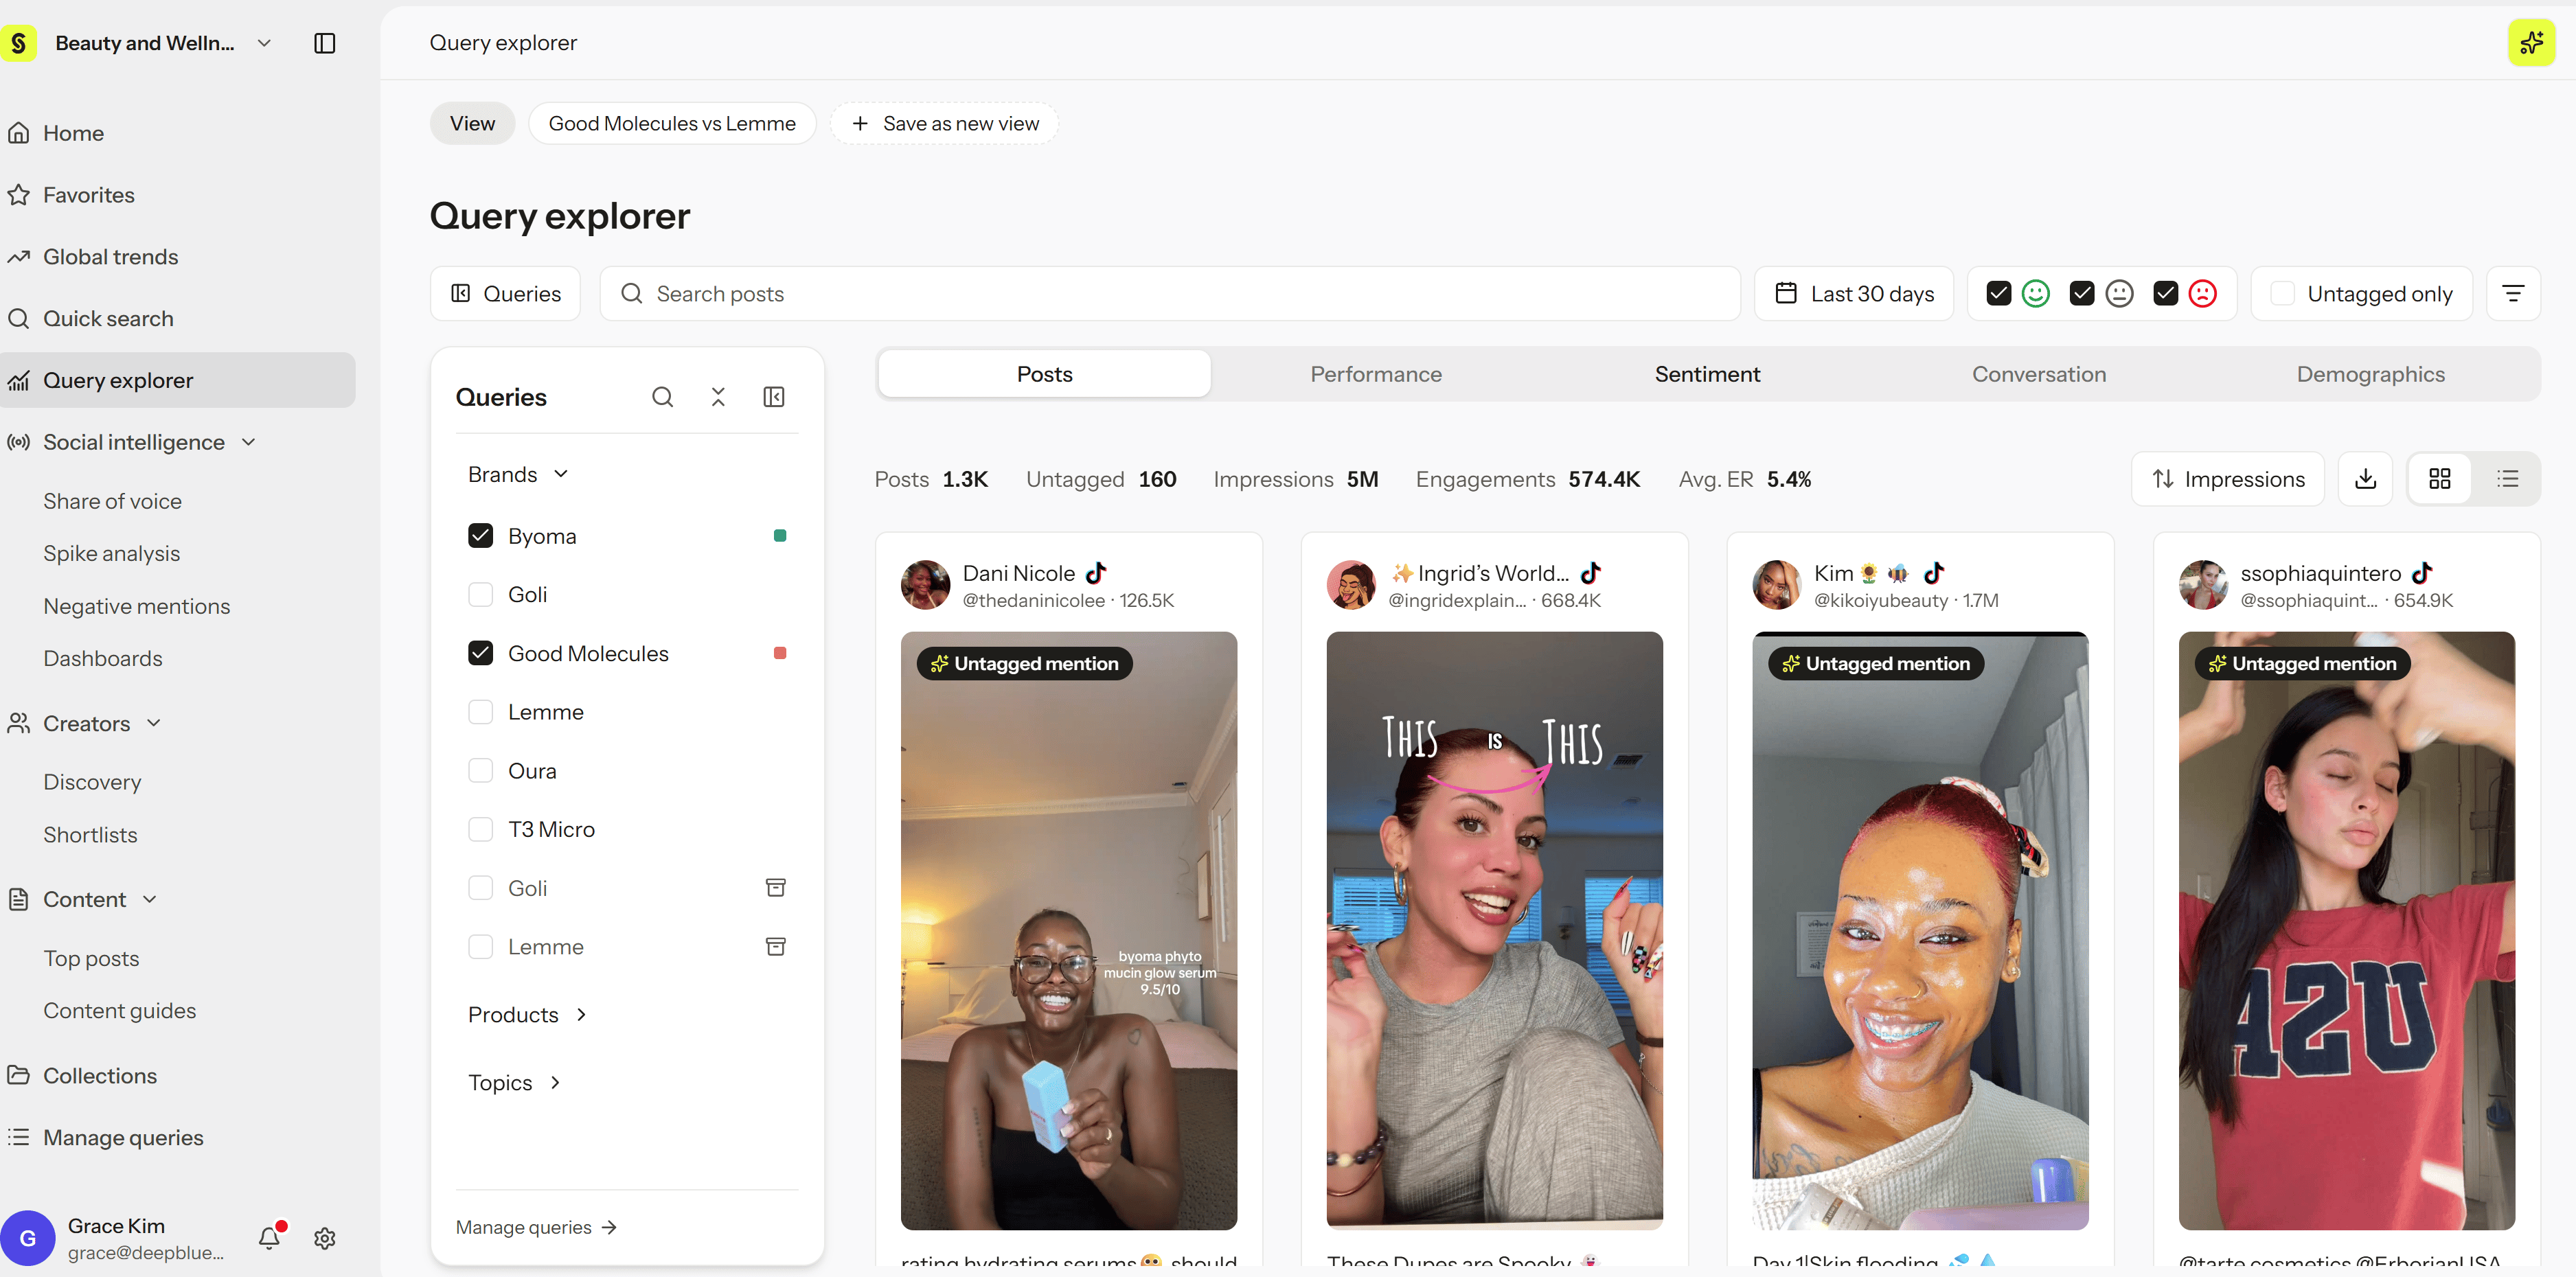
- Open the Posts tab in Query explorer, or in a Query’s detail view under Manage queries.
- Filter by date range, platform, keyword, sentiment, and more.
- Change the sort order, and switch between card and list views.
- Select a post to see its video and analysis.
Mark noise
- Select one or more posts that don’t belong.
- Select Mark as noise in the selection bar.
- If more than one Query is selected, choose which Query to mark the posts as noise for.
- Check the confirmation message, then confirm.
- Refresh the list to see the update.
Noise applies only to the Query you choose. The post still counts in any other Query it belongs to. Posts you mark as noise yourself stay that way, even when automatic classification runs again.
Automatic noise and the Noise posts tab
Syncly automatically marks posts that don’t fit a Query as noise. Once a post is classified, it stays that way when new posts are collected. To see examples of posts that were excluded, open the Noise posts tab in Query detail. Select View original to open a post and confirm it really is noise.Work with selected posts
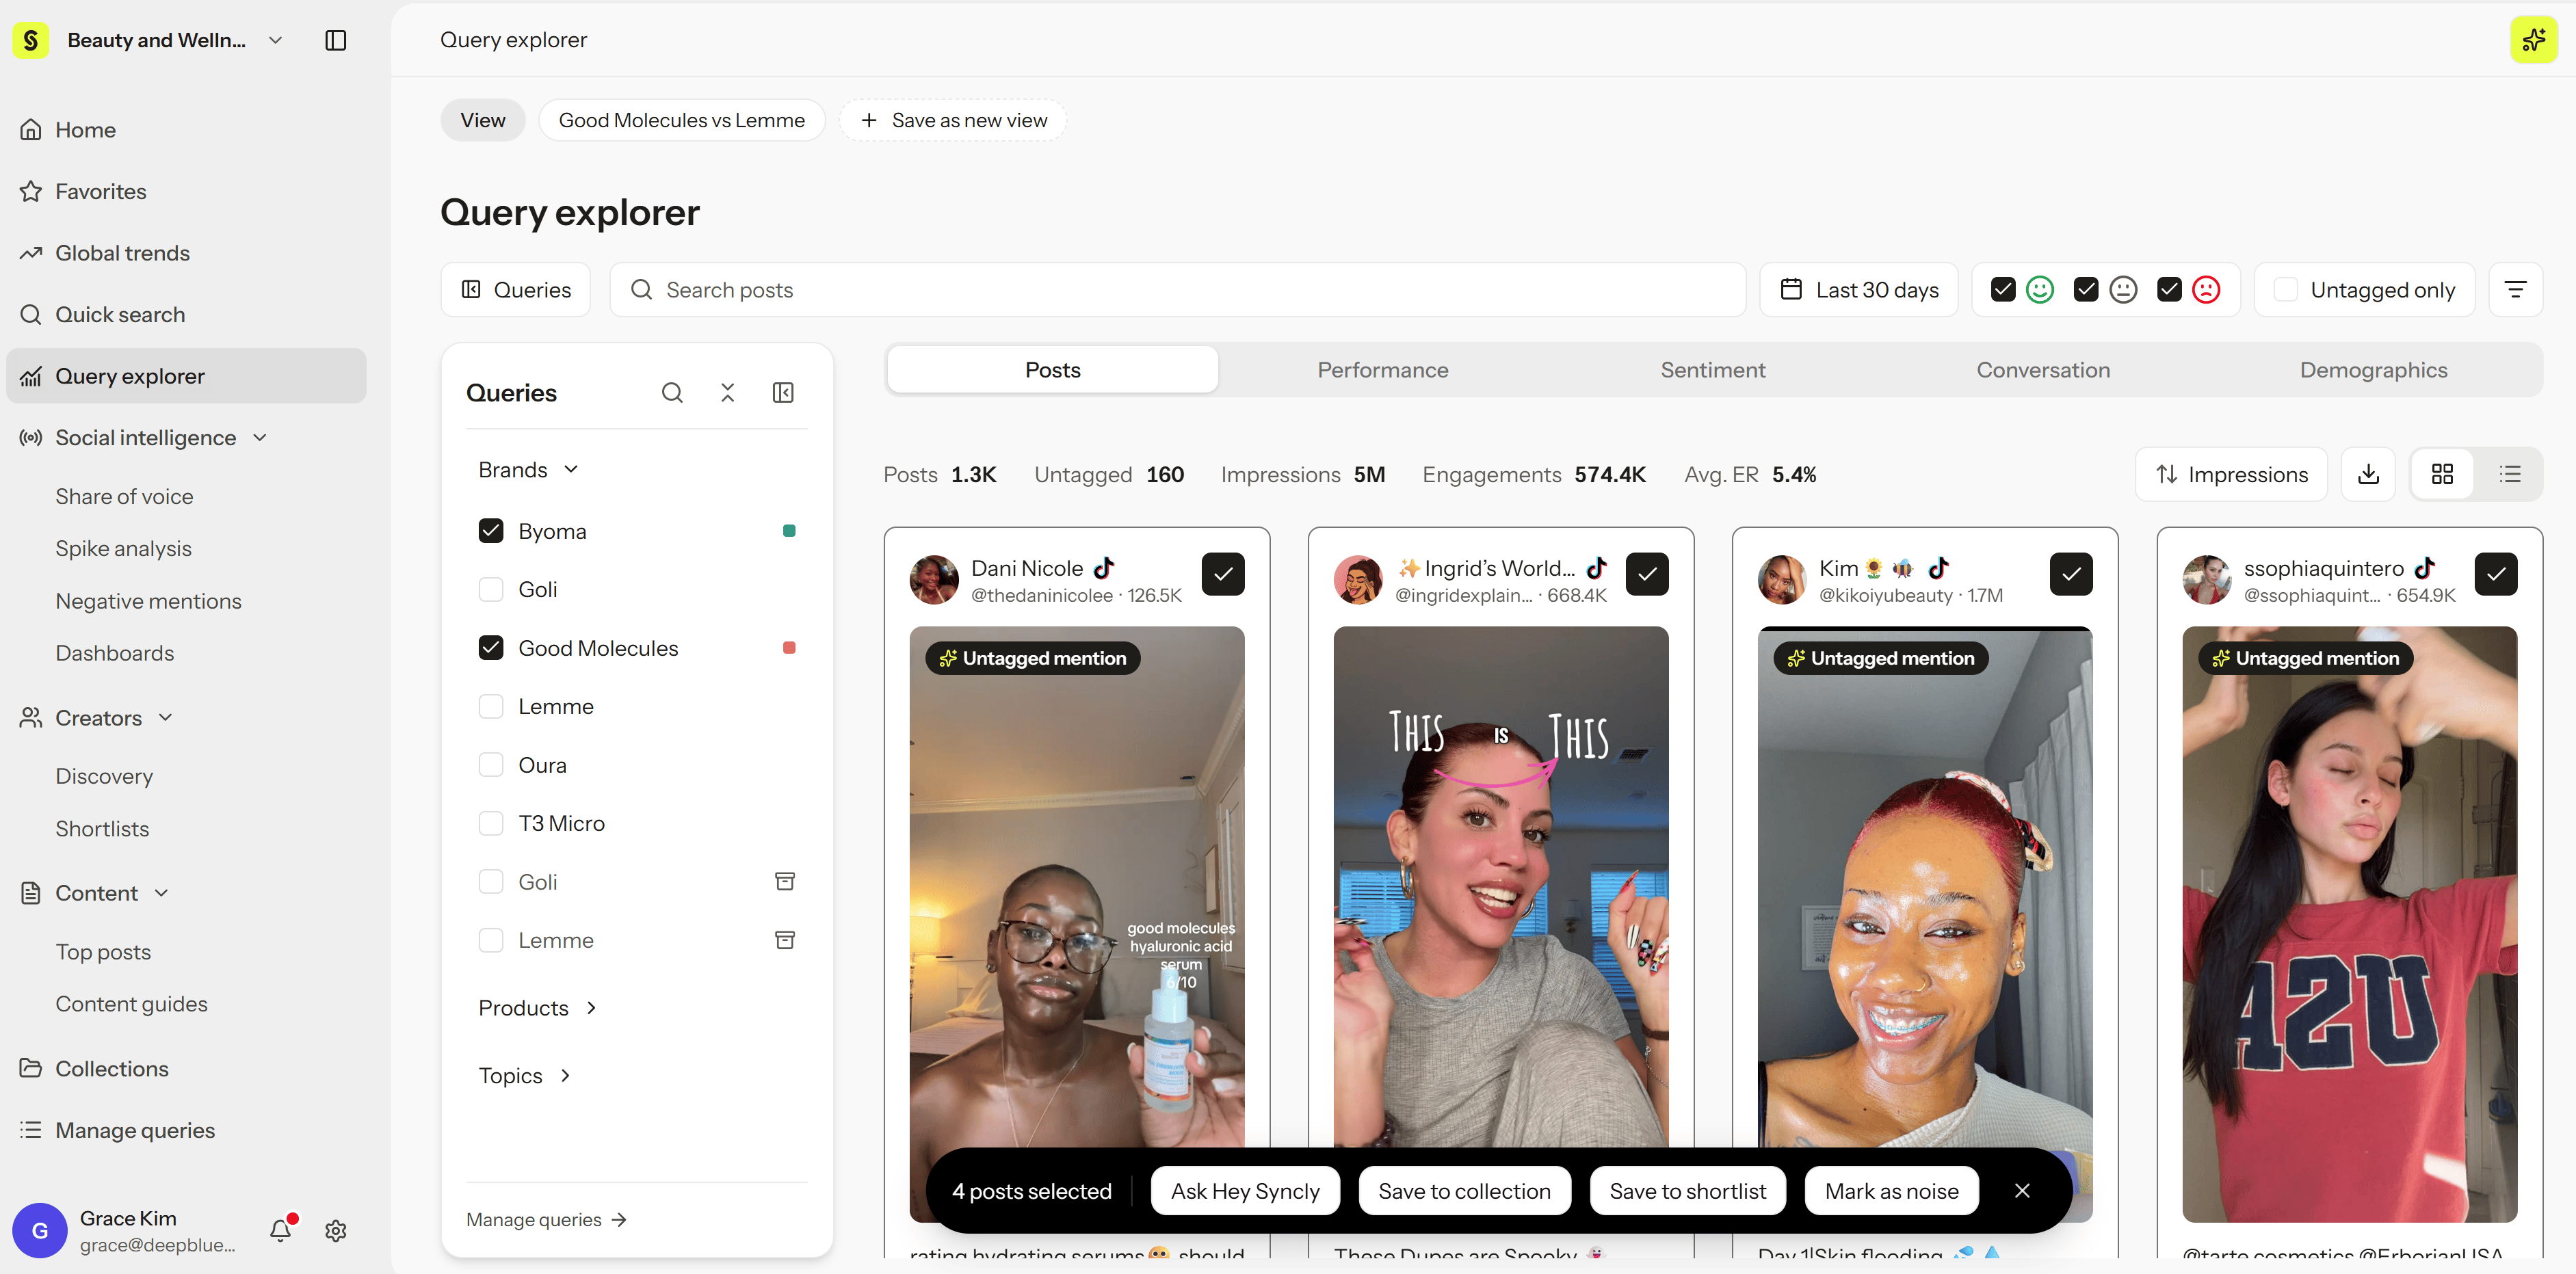
Select posts to open the selection bar. From there you can:- Save to collection: Add the posts to a Collection (Editor or Admin).
- Save to shortlist: Add the posts’ creators to a Shortlist (Editor or Admin).
- Ask Hey Syncly: Ask questions about the selected posts. See Ask Hey Syncly.
- Mark as noise: Remove the posts from a Query (Editor or Admin).
- Clear: Unselect all posts.
Troubleshoot
- The count didn’t change after marking noise: Refresh the list with the same filters.
- Mark as noise didn’t work: Check that the post belongs to the Query you chose and that you have Editor or Admin permission.
- No posts appear: Widen the date range or loosen your filters.